You can also check out our full working example with Next.js 13 here.

1

Install the SDK

Run the following command in your terminal:

Create a file named instrumentation.ts in the root of your project (i.e., outside of the pages or ‘app’ directory) and add the following code:

export async function register() {
  if (process.env.NEXT_RUNTIME === "nodejs") {
    await import("./instrumentation.node.ts");
  }
}

Please note that you might see the following warning: An import path can only end with a '.ts' extension when 'allowImportingTsExtensions' is enabled To resolve it, simply add "allowImportingTsExtensions": true to your tsconfig.json

Create a file named instrumentation.node.ts in the root of your project and add the following code:

import * as traceloop from "@traceloop/node-server-sdk";
import OpenAI from "openai";
// Make sure to import the entire module you want to instrument, like this:
// import * as LlamaIndex from "llamaindex";

traceloop.initialize({
  appName: "app",
  disableBatch: true,
  instrumentModules: {
    openAI: OpenAI,
    // Add any other modules you'd like to instrument here
    // for example:
    // llamaIndex: LlamaIndex,
  },
});

Make sure to explictly pass any LLM modules you want to instrument as otherwise auto-instrumentation won’t work on Next.js. Also make sure to set disableBatch to true.

On Next.js v12 and below, you’ll also need to add the following to your next.config.js:

/** @type {import('next').NextConfig} */
const nextConfig = {
  experimental: {
    instrumentationHook: true,
  },
};

module.exports = nextConfig;

See Next.js official OpenTelemetry docs for more information.

2

Annotate your workflows

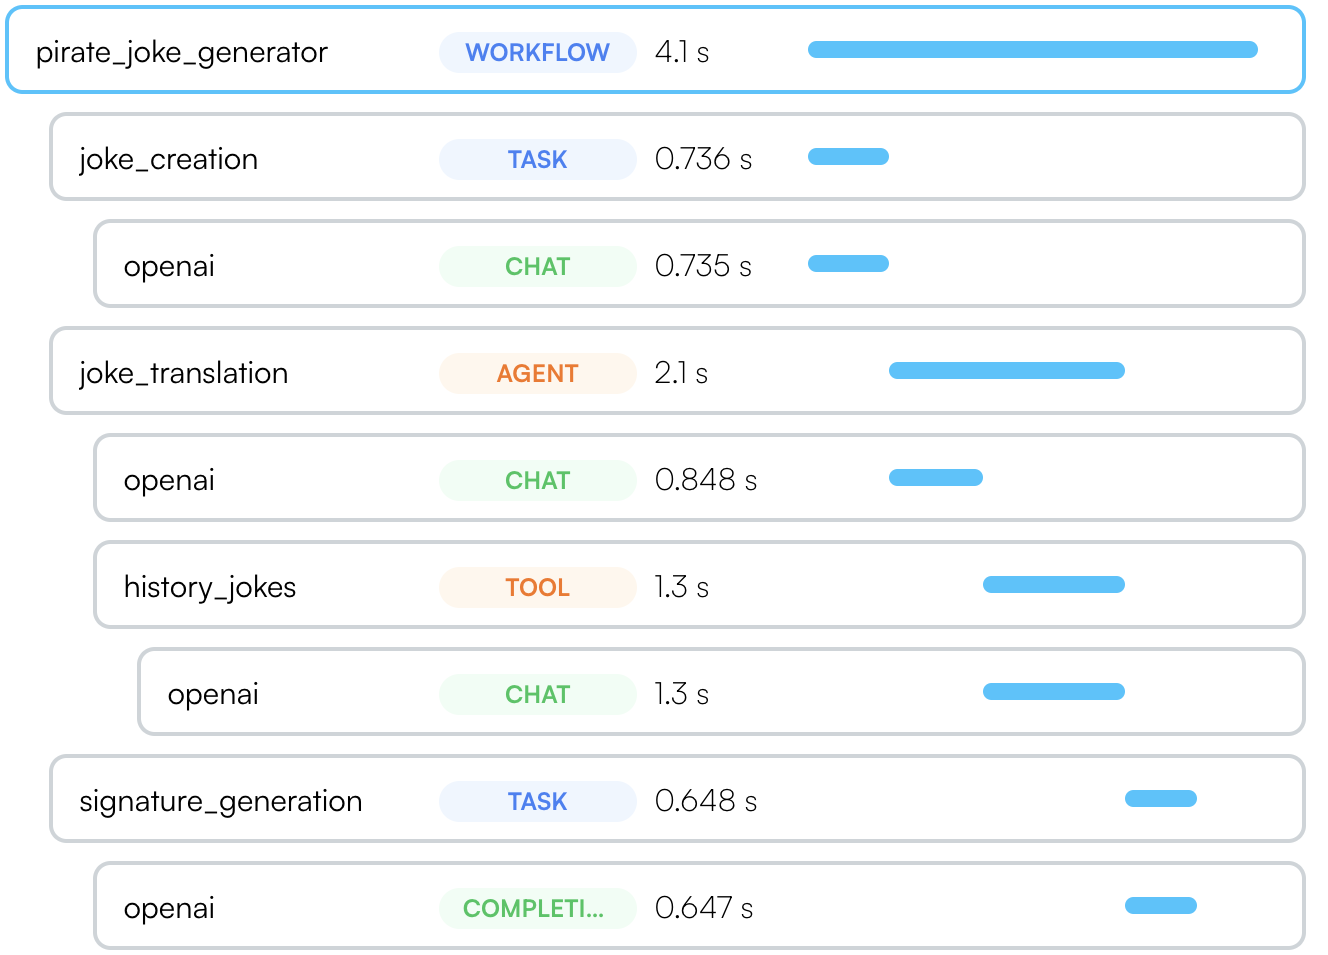
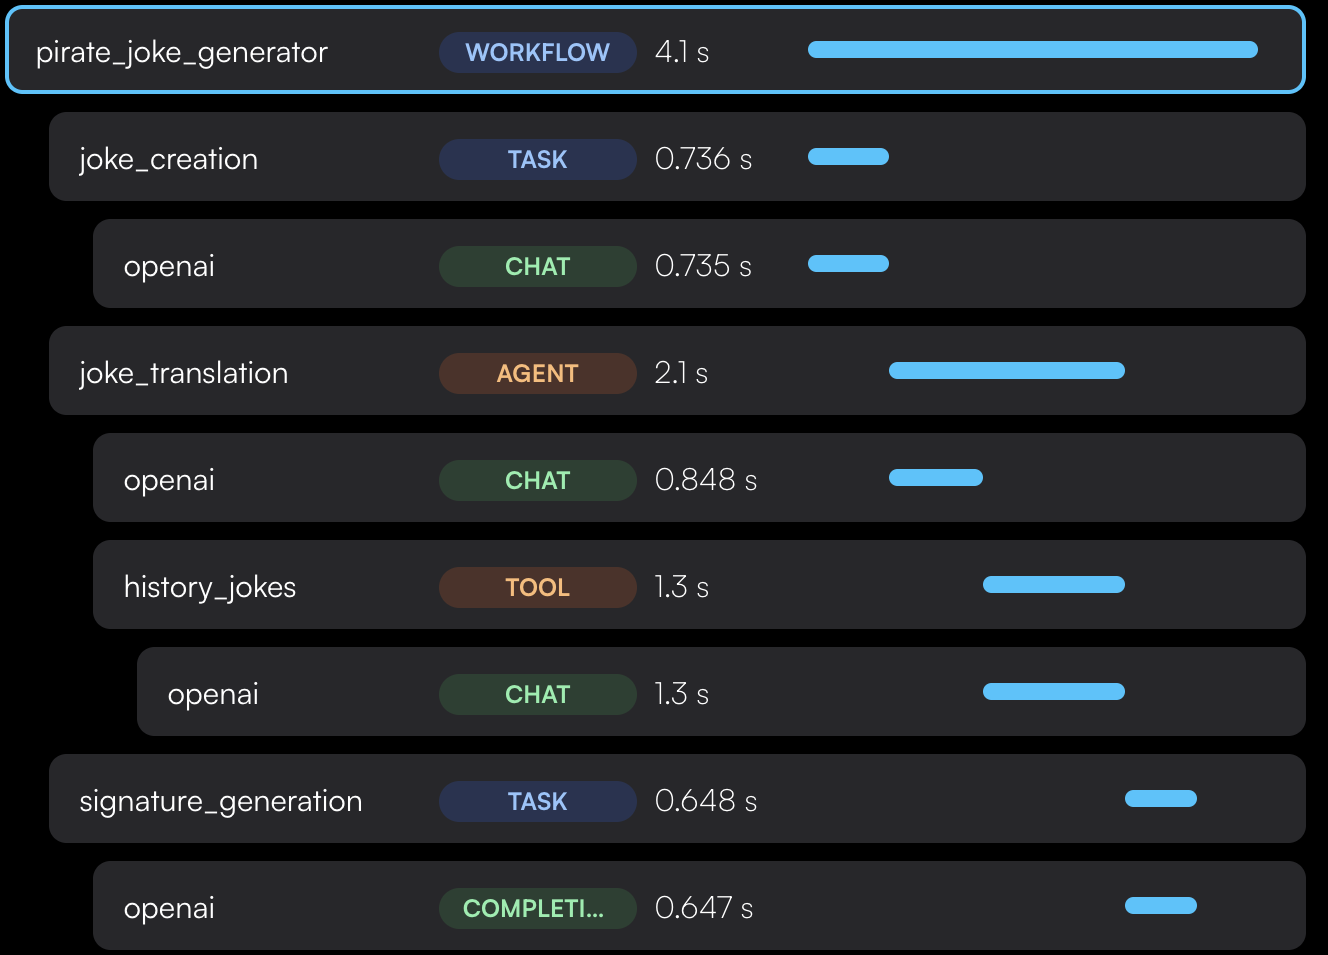
If you have complex workflows or chains, you can annotate them to get a better understanding of what’s going on. You’ll see the complete trace of your workflow on Traceloop or any other dashboard you’re using.

We have a set of methods and decorators to make this easier. Assume you have a function that renders a prompt and calls an LLM, simply wrap it in a withWorkflow() function call.

We also have compatible Typescript decorators for class methods which are more convenient.

If you’re using an LLM framework like Haystack, Langchain or LlamaIndex - we’ll do that for you. No need to add any annotations to your code.

For more information, see the dedicated section in the docs.

3

Configure trace exporting

Lastly, you’ll need to configure where to export your traces. The 2 environment variables controlling this are TRACELOOP_API_KEY and TRACELOOP_BASE_URL.

For Traceloop, read on. For other options, see Exporting.

Using Traceloop Cloud

Go to Traceloop, and create a new account. Then, click on Environments on the left-hand navigation bar. Or go to directly to https://app.traceloop.com/settings/api-keys. Click Generate API Key to generate an API key for the developement environment and click Copy API Key to copy it over.

Make sure to copy it as it won’t be shown again.

Set the copied Traceloop’s API key as an environment variable in your app named TRACELOOP_API_KEY.

Done! You’ll get instant visibility into everything that’s happening with your LLM. If you’re calling a vector DB, or any other external service or database, you’ll also see it in the Traceloop dashboard.